Character designer
Test a recurring character across portraits, outfits, and lighting setups.
A faster way to explore identity and visual direction before polishing a final sheet.
lora ai generatorImage workflow
Free lora ai images become more useful when you choose a focused subject, match the right LoRA model, and describe the result clearly. Start with one visual goal, then refine the prompt instead of changing everything at once.
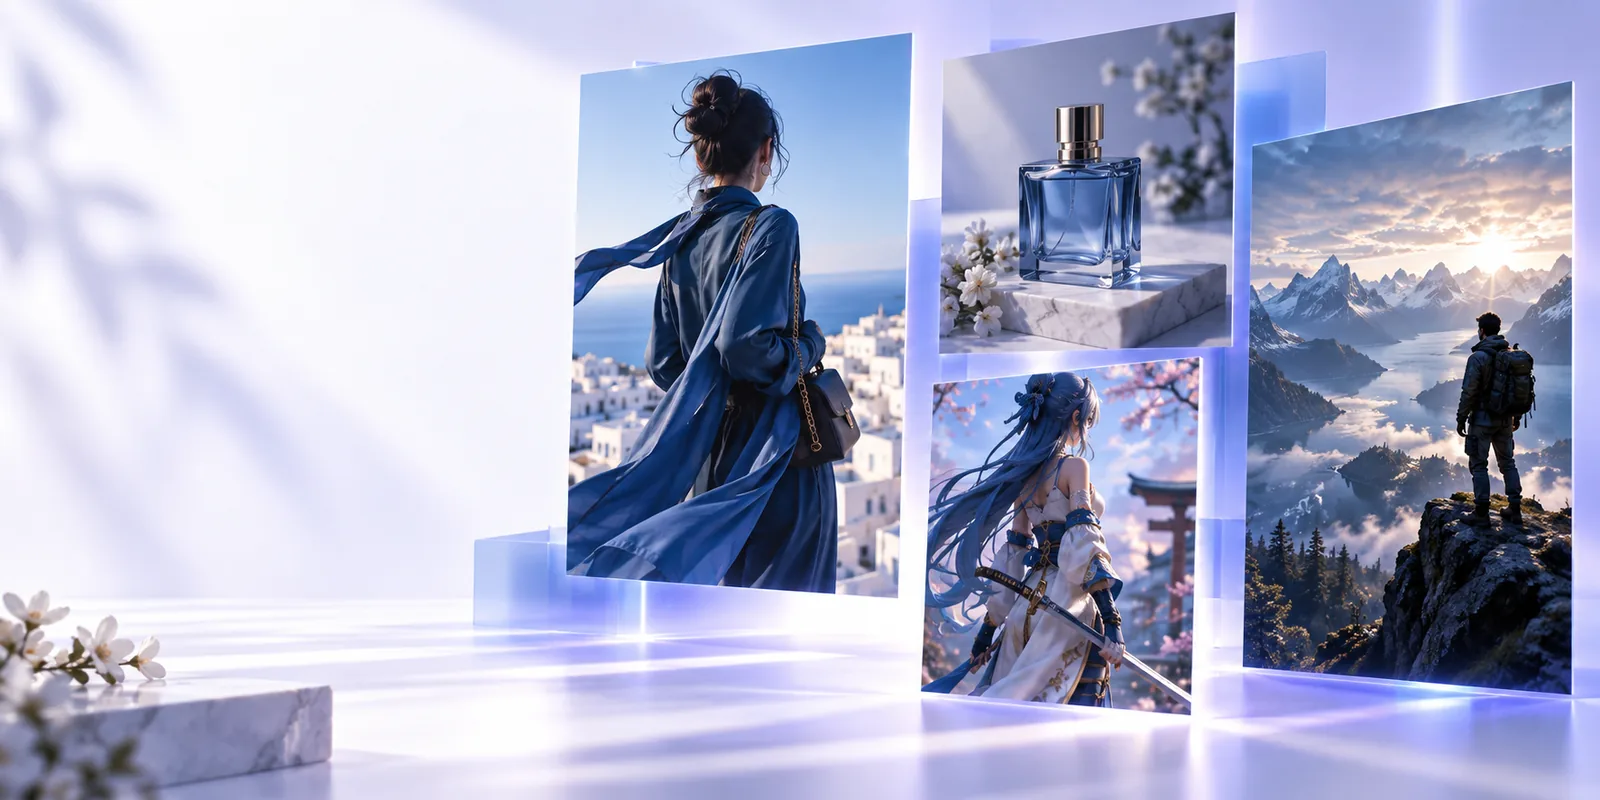
Before you begin
A small amount of preparation prevents most weak outputs. Check the model, prompt, and intended use before generating a batch.
A LoRA adds a learned style, subject, or detail to a compatible base model; it cannot replace the base model itself.
WorkaroundConfirm the base model and LoRA family match before generating.
A small or inconsistent training set may produce unstable faces, clothing, poses, or product details.
WorkaroundUse a focused reference set and describe the parts that must remain consistent.
A free image route can vary in queue time, resolution, model choice, or daily availability.
WorkaroundTest one prompt first, then save the settings that produce a useful result.
Hands, text, logos, fine patterns, and exact likenesses can still fail even when the overall composition looks strong.
WorkaroundInspect important details and regenerate or edit before publishing.
Simple workflow
This three-stage process keeps the creative decision clear while giving the LoRA enough direction to influence the output.
Pick a compatible LoRA for the visual element you want to control, such as a character, material, illustration style, or product look.
State the subject, setting, pose, lighting, composition, and important exclusions. Keep the first prompt specific but not overloaded.
Generate a small set, inspect the strongest result, then adjust one variable at a time: prompt wording, LoRA strength, composition, or negative terms.
Keep exploring
Use these nearby pages when your goal shifts from making images to choosing a model or building a broader generation workflow.
Choose your approach
The best option depends on how much control you need and how quickly you want to test an idea.
Quick free route
Local or advanced workflow
Quick free route
Fast concept tests and visual exploration
Local or advanced workflow
Repeatable projects and detailed control
Quick free route
Prompt, compatible model selection, and a browser
Local or advanced workflow
Model files, interface setup, storage, and configuration
Quick free route
Usually simplified strength and model controls
Local or advanced workflow
Fine control over weights, samplers, steps, and resolutions
Quick free route
Quick to start with fewer decisions
Local or advanced workflow
Slower setup, then efficient for repeated batches
Quick free route
Useful for early tests but dependent on available settings
Local or advanced workflow
More repeatable when settings and files are saved
Quick free route
Images and prompts may be processed by the online service
Local or advanced workflow
Local processing can keep source material on your machine
Quick free route
A strong draft, moodboard, or social visual
Local or advanced workflow
A controlled asset set with a consistent production style
Practical uses
Different image goals call for different levels of model control. Start with a clear use case and choose the simplest route that can support it.
Test a recurring character across portraits, outfits, and lighting setups.
A faster way to explore identity and visual direction before polishing a final sheet.
lora ai generatorCompare styles, subjects, and base-model compatibility before committing to a workflow.
A more informed shortlist of models for future image experiments.
ai lora modelsDevelop expressive characters, backgrounds, and color treatments from concise prompts.
More focused concept variations without redrawing every early idea manually.
lora ai animeExplore packaging scenes, editorial compositions, and product moodboards.
Useful visual directions for review, provided logos and product details are checked afterward.
lora ai generatorStart creating
Describe the subject, style, and setting you want to explore, then use the first result as a reference for smarter revisions. Lora AI is most effective when each iteration has one clear purpose.
Generate an imageCommon questions
Start with a compatible LoRA model and a focused image prompt describing the subject, setting, style, and composition. Use the first result as a draft, then refine one setting or phrase at a time.
Not always. An online tool may provide model access through its interface, while a local workflow usually requires downloading and organizing compatible model files.
A suitable LoRA can improve consistency for a character, subject, or visual style, but results depend on the training data, base model, prompt, and generation settings. Review several outputs rather than trusting one image.
Name the subject first, then add the environment, pose, camera or composition, lighting, color direction, and important details. Avoid packing unrelated goals into one prompt while you are still testing the model.
That depends on the service terms, the LoRA license, the base model license, and any source material used for training or reference. Check those permissions and inspect the output before using it commercially.